
These are the steps I took to create the biped skeleton within my model which I created.A character bipe is pre made and allows the user to adjust the rig. Before beginning the process i selected the model i created.I then hit ALT X on my keyboard.i then right clicked on my mouse and clicked freeze selection.
Select Create tab, Systems and click Biped. Click and drag your cursor starting the sole of the feet/shoes of the character until you meet your desire scale of your character.


Problems I encountered were when changing the radial scale of the envelope it picked up part of the other leg so when I moved this it moved the other leg also. I resolved this problem by changing the radial scale to make it smaller.
Once the biped is inside the model you notice when you move it ,it pulls on the mesh
. This can be fixed by using the sub object level on the physique modifier.You then click on envelope. Once your model is in smooth and highlight modeyou can see how to resolve the problem.
Select your mesh – and change to wire frame mode, so that you can see the bones clearly. If you click on the yellow line running through the bones, you will activate the envelope. Where the envelope is influencing the mesh 100% it will be red in colour, if it isn’t influencing it will appear purple.
You can alter the envelopes using radial scale, parent overlap and child.
The Radial scale is the overall size of the envelope. The larger the envelope is, the broader will be it's area of binding.
Parent Overlap decides how much this bone will influence the vertices controlled by it's parent bone. For example here, for the Thigh, the Parent bone is the hip bone.
Child Overlap decides how much the bone will influence the vertices controlled by it's child bone. In our current case, the child bone is the 'Shin bone'. (3dsmaxtutorials,2008)
3DS Max Tutorials,2008.
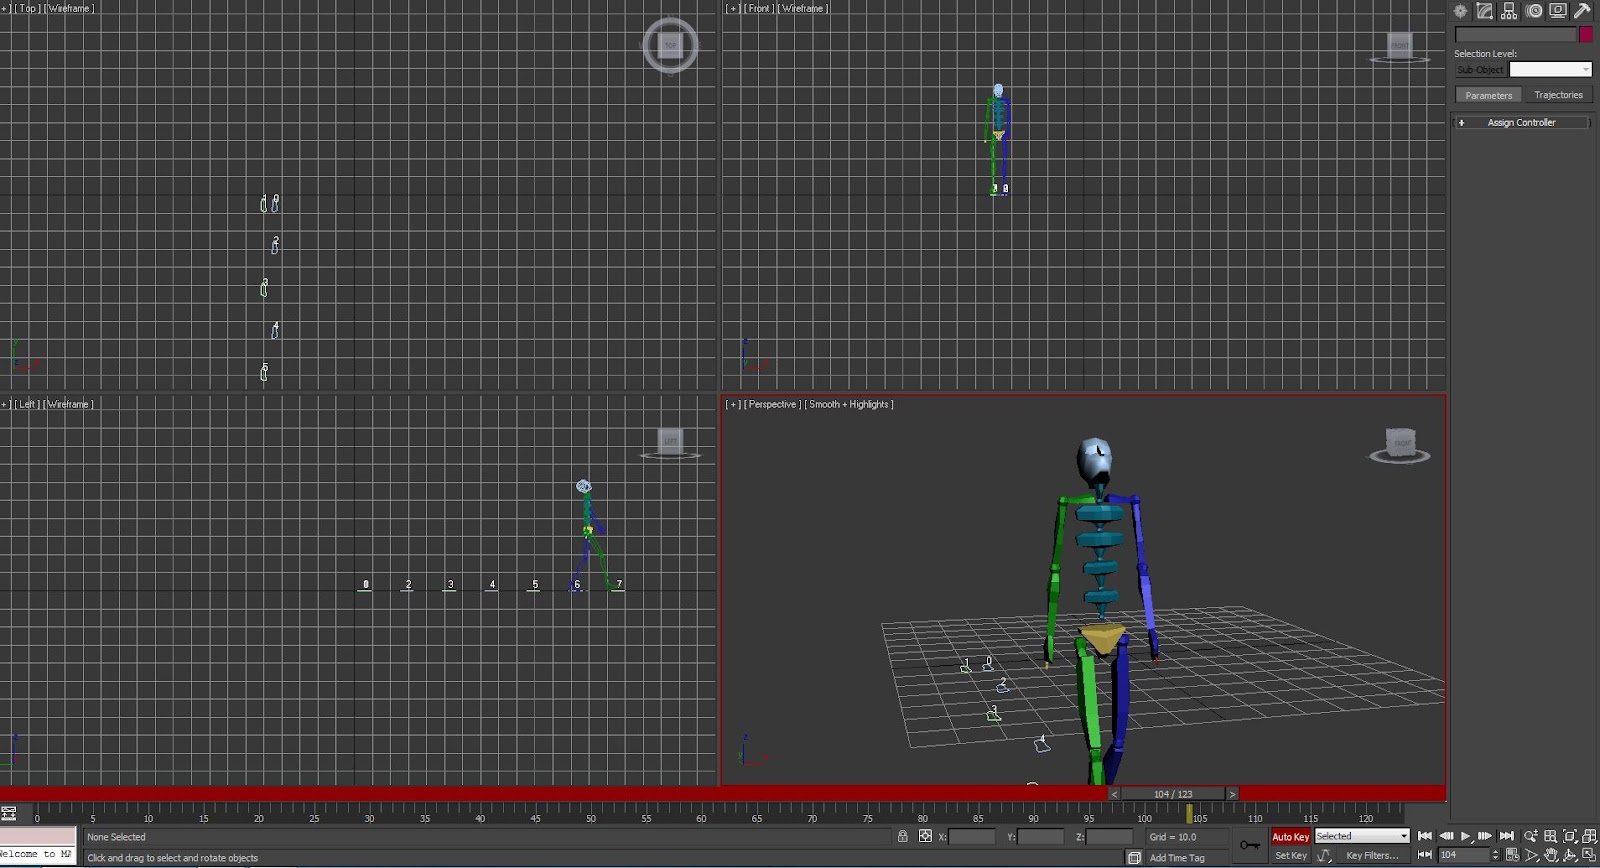
The walking Cycle
Firstly,maximise your perspective viewport.This will enable you to see clearer.Click distance in the create panel.Then click Biped and drag and drop it in to your viewport.Then click on the motions panel and select figure mode.Now click on footstep creations and add the amount of steps you want the biped to take.Then click on footstep operations and click play.
|
Avalialbe at: http://3dsmax-tutorials.sajuonline.com/advanced/Chapter-13/chap-13-character-rigging-biped-physique-page3.php
[Acessed 23 March 2012 ]
No comments:
Post a Comment