
Here is a screen shot of a caslle I constructed from cylinders and cones.I found that task quite simple.The hardest thing I found was dragging one item ontop of another.The standard primitiveshapes are as follows.
| box: | Produces a rectangular prism. An alternative variation of box, called Cube, proportionally constrains the length, width and height of the box. | |
| Cylinder: | Produces a cylinder. | |
| Torus: | Produces a torus – or a ring – with a circular cross section, sometimes referred to as a doughnut. | |
| Teapot: | Produces a Utah teapot. Since the teapot is a parametric object, the user can choose which parts of the teapot to display after creation. These parts include the body, handle, spout and lid. | |
| Cone: | Produces upright or inverted cones. | |
| Sphere: | Produces a full sphere, hemisphere, or other portion of a sphere. | |
| Tube: | Produces round or prismatic tubes. The tube is similar to the cylinder with a hole in it. | |
| Pyramid: | Produces a pyramid with a square or rectangular base and triangular sides. | |
| Plane: | Produces a special type of flat polygon mesh that can be enlarged by any amount at render time. The user can specify factors to magnify the size or number of segments, or both. Modifiers such as displace can be added to a plane to simulate a hilly terrain. | |
| Geosphere: | Produces spheres and hemispheres based on three classes of regular polyhedrons. |

Here is another shape i made using the basic primitive tools.I then had a look into the colour tools and the extruding tools.I found this easier with the more practice I had.
Vertices are the dots at line intersections.
Edges are lines connecting two vertices
Faces are two dimensional surfaces within a polygon (applies only with edit mesh)
Polygons are the planes confined by at least three edges. They can contain more than one face.
Borders are the edges surrounding a deleted polygon (applies only with edit poly)

Also in our first lesson we created an apple using low poly modelling.We did this by using a standard primitive shape,'the Sphere' which we dragged into the perspective viewport.Once the sphere was at the correct size i then right clicked and changed it into an editable polygon.I then went into sub-object level, and enter the Soft Selection part of the Editable Poly rollout.The stalk of the apple was made using an elongated cone ,creating a very thin cone.However i did not manage to bend the top part so the apple looks unrealistic.Once the apple was complete I applied a turbosmooth to smooth off all of the edges.

In this practice we looked at creating a character.We began with a segmented box in this we draged at the corners to form the shoulders.I felt this was the most difficult task so far.The bevel and extrude tool was used to create the shape of the head and arms.Tt allowed to give the body a better shape.
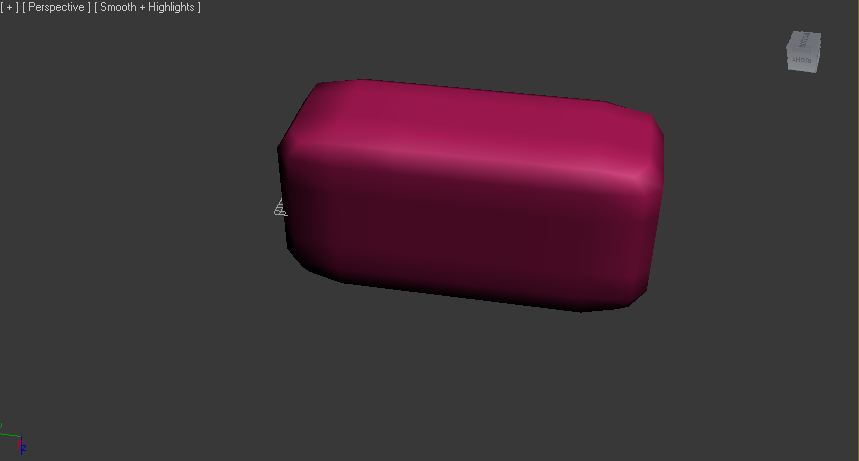
This is a practice of using turbosmooth.
Splines allow the user to create smoothly-curved lines with high precision. A spline’s shape can be controlled by changing the position, and other properties, of its vertices.
this heart was created by using the line tool and drawing out the basic shape.

The next two screen shots were examples of using the loft tool.Lofting is an easy-to-use technique that will repeat a shape along a path, thus creating a 3D object.i began by drawing with 2d splines.This will be the path I would like it to loft along.I then used a standard primitive circle shape and placed a small one into the area.i then selected compound objects - loft.I then selected my path and clicked the get shape button.After clicking on the circle the image will change to three dimentional.


No comments:
Post a Comment